Faucet Removal/Replacement
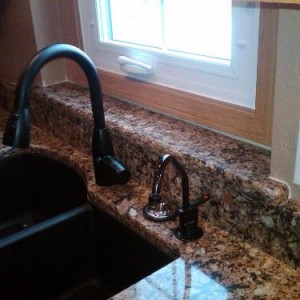
 If you have decided to replace your kitchen faucet, see the section for disconnecting the water supply lines. You only need to disconnect the lower portion of the supply lines at the shutoffs. Once those are loose, you need to disconnect the attachment(s) nuts. Depending on the brand of faucet, you may have one or two threaded nuts that hold it to the countertop. You will need to look up behind the sink to see what you have. (bath faucet replacement will be similar)
- Tip…use a digital camera to take a photo of the attachments to see what type of attachments you have.
You should be able to use the faucet wrench described in the previous section to remove the nuts on the faucet. Once the nuts are off, remove the faucet from above. The faucet and the supply lines will come out as a unit, provided the holes in the counter top are large enough to allow the supply lines to come out.
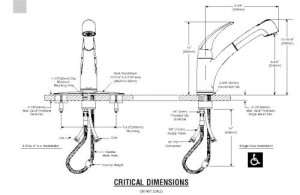
Once the faucet is out, clean the area where it was attached. Be careful not to scratch the sink surface or countertop. See how many faucet holes you have…one, two or three holes? This will determine what type of replacement faucet you purchase. If you only have two holes and you purchase a faucet that requires three, you have a problem! Additional holes can be cut but that requires special tools and depends on the type of sink or countertop you have.
Now you are ready to install your new faucet. Be sure to read and follow the manufacture’s installation instructions. As before, I recommend you replace the supply lines. Review the installation instructions throughly. The basic procedure is as follows.
- Wrap the faucet water supply connection threads with Teflon® tape.
- Secure the new supply lines to the faucet.
- If the faucet has a base plate, install it now.
- If sealant is required on your faucet, install it per the faucet installation instructions.
- Install the faucet and supply lines in the respective holes.
- From below, attach the new faucet with the supplied attachments.
- Attach the supply lines to the shutoffs (see supply lines in the previous section).
Faucet Removal and Replacement
October 4, 2014 by Rex Splitt • Plumbing • Tags: Faucet • 0 Comments
Faucet Removal/Replacement
You should be able to use the faucet wrench described in the previous section to remove the nuts on the faucet. Once the nuts are off, remove the faucet from above. The faucet and the supply lines will come out as a unit, provided the holes in the counter top are large enough to allow the supply lines to come out.
Once the faucet is out, clean the area where it was attached. Be careful not to scratch the sink surface or countertop. See how many faucet holes you have…one, two or three holes? This will determine what type of replacement faucet you purchase. If you only have two holes and you purchase a faucet that requires three, you have a problem! Additional holes can be cut but that requires special tools and depends on the type of sink or countertop you have.
Now you are ready to install your new faucet. Be sure to read and follow the manufacture’s installation instructions. As before, I recommend you replace the supply lines. Review the installation instructions throughly. The basic procedure is as follows.